Practical
Setup #
Follow the instructions in the Requirements document.
Single Species Annotation #
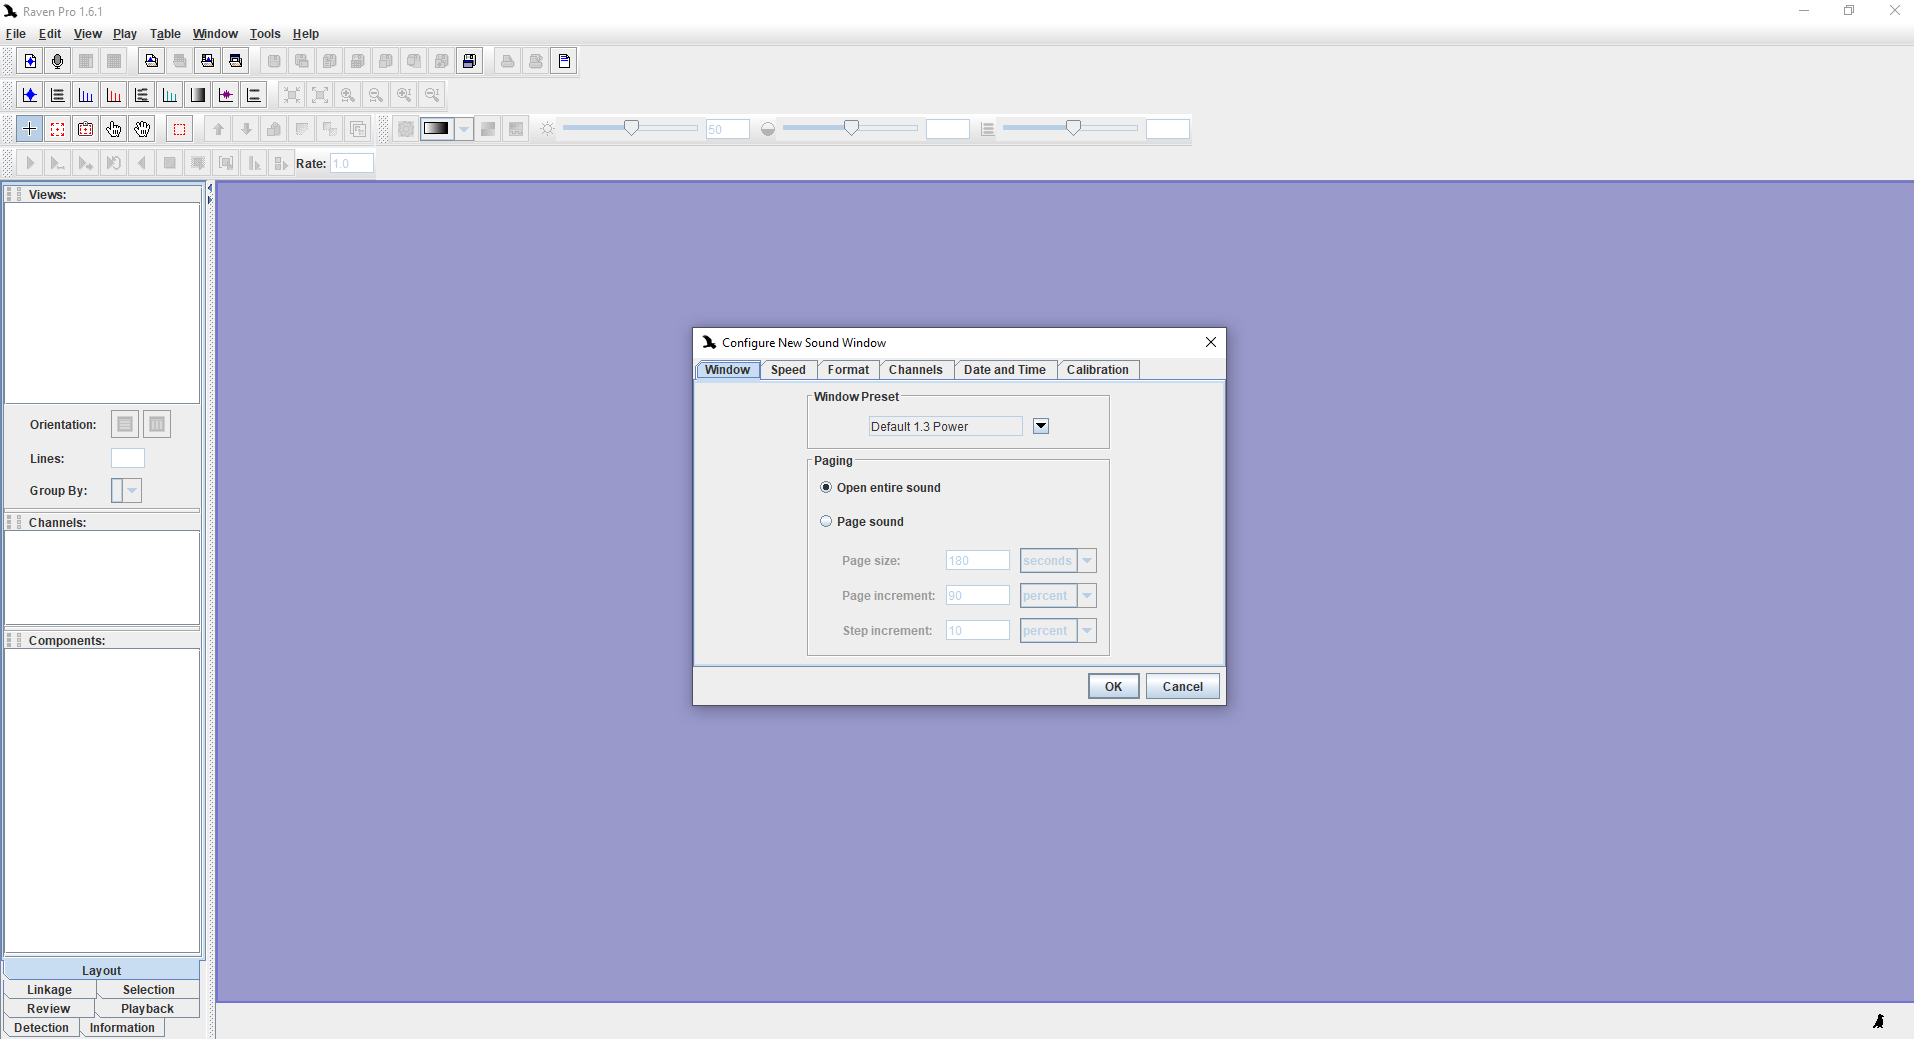
- Open Raven and import
C:\2022 Ecoacoustics Symposium\Annotation Examples\powerfulowl.WAV- You can leave the Window Preset on default for now.
- If your computer struggles to handle a full-hour file, you can click ‘Page Sound’ and this will break the file down into smaller segments of whichever time you specify
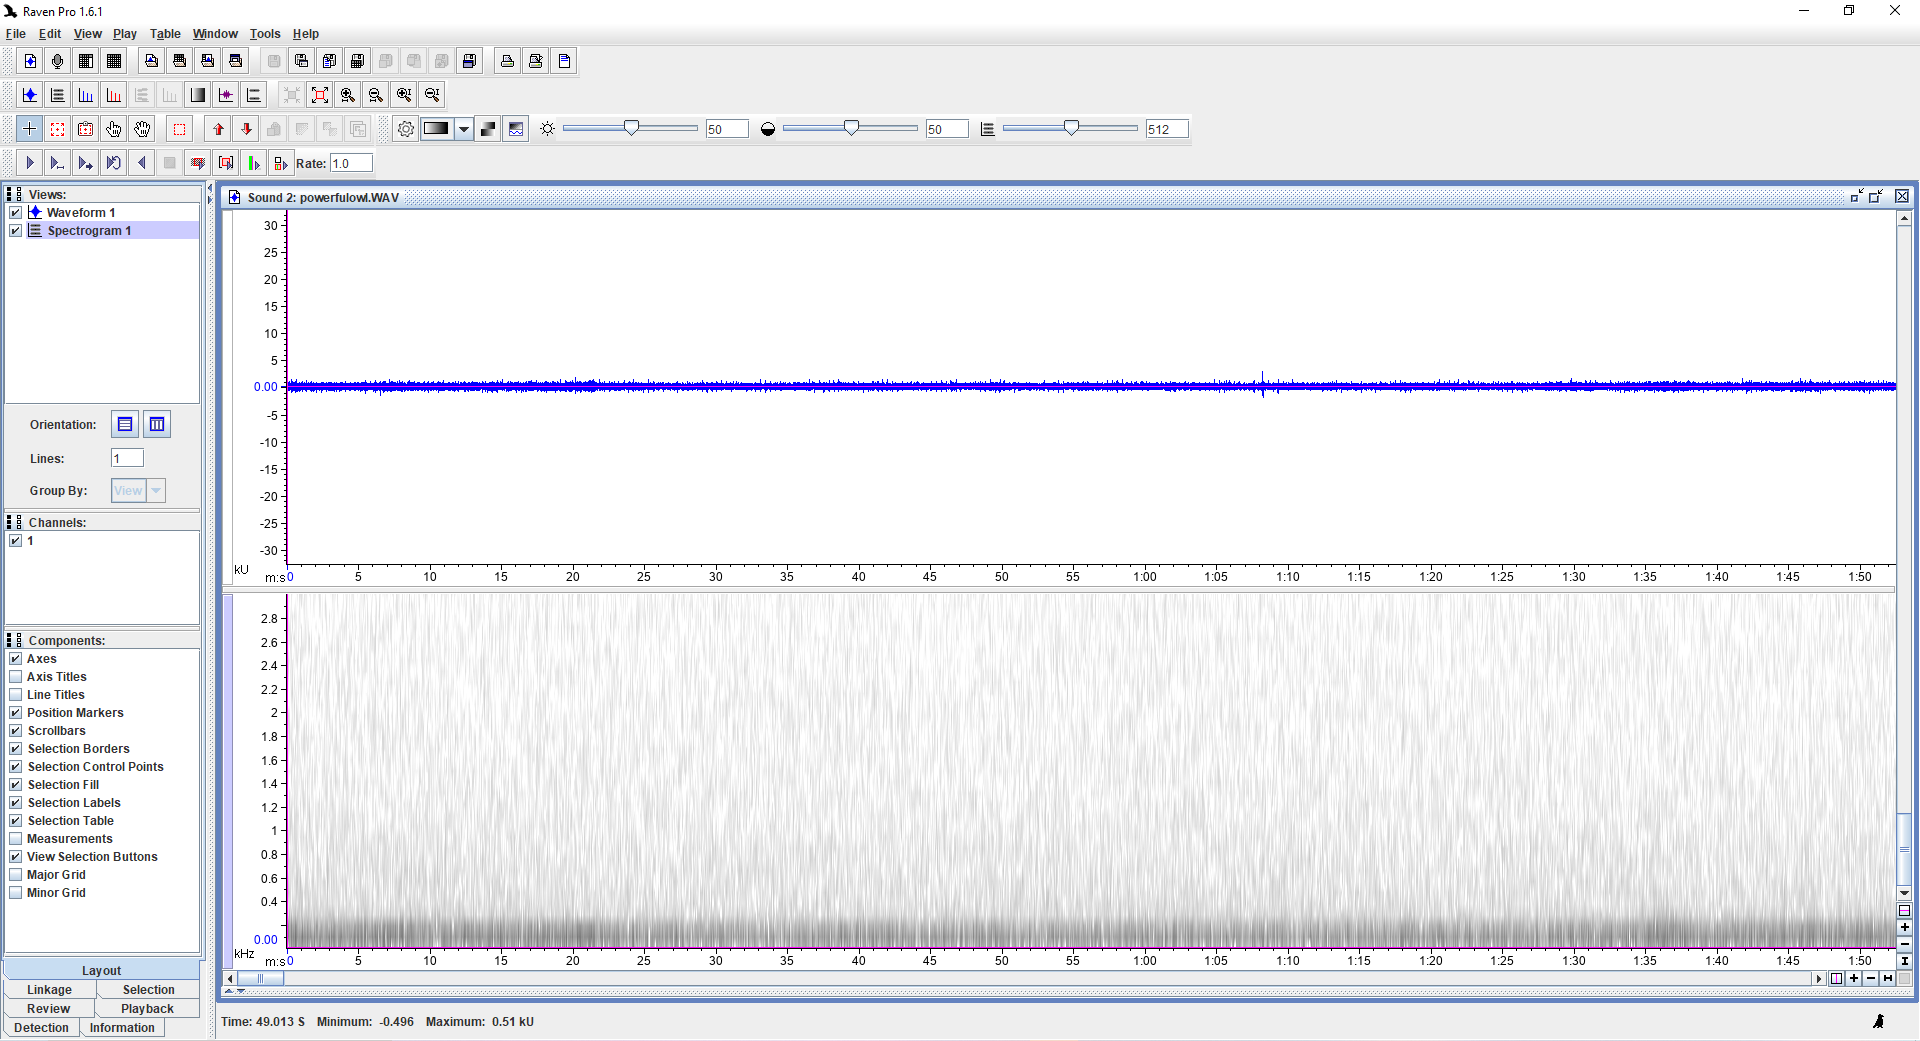
- Spectrogram Settings
- Zoom in on both the X and Y axis on the spectrogram. You will notice that the image is quite blurry. Note you can choose to view only the spectrogram rather than the waveform by deselecting the waveform in the ‘views’ tab.

- Change the focus (spectrogram window size) to
2132and adjust the brightness and contrast to taste. You can also select a different colour setting if desired. - Move through the file using the horizontal axis until you find some Powerful Owl vocalisations
- When you find some, draw a box around the vocalisation and type ‘Powerful Owl’ in the annotation box and hit enter. Click ‘use specified value as default’.
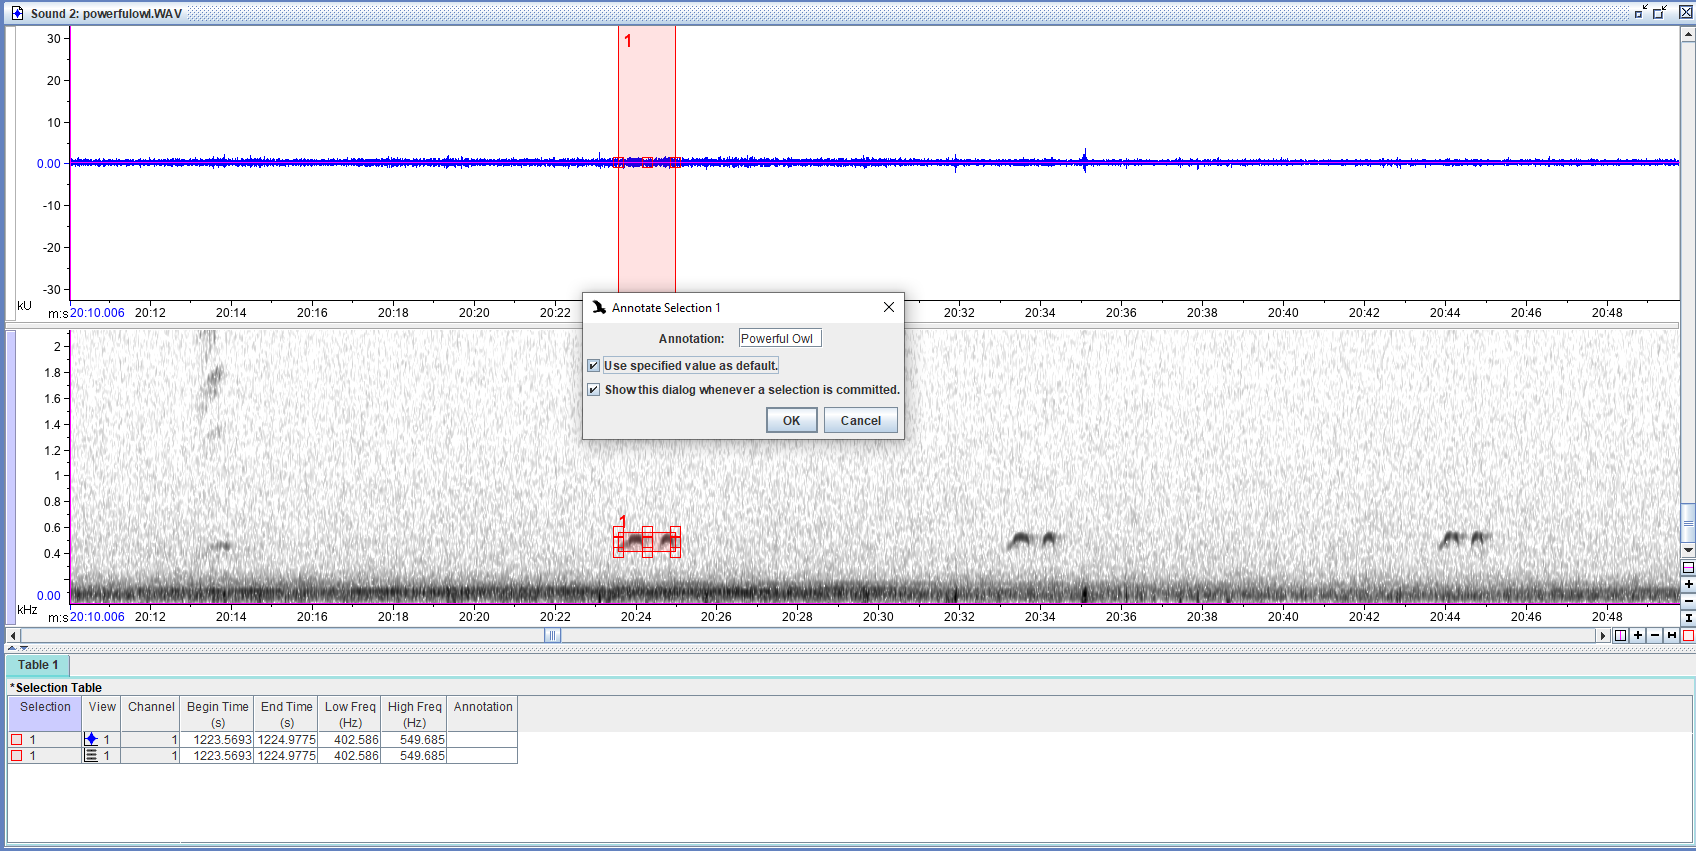
- For efficient tagging when you don’t need to be extremely accurate (for rapidly collecting annotations for deep learning or similar) you can ‘copy’ and ‘paste’ your annotation boundaries.
- Make sure to save and back up your annotations. File > Save Selection Table As
- It is recommended to save the annotation file in the default Raven format (
powerfulowl.Table.1.selections.txt) and to save it alongside the original audio file.
Multi-species Annotation #
- Load
C:\2022 Ecoacoustics Symposium\SERF Data\20220421T120000+1000_SEQP-Samford-Wet-B_644366.flac(the second file in the SERF Data folder) in Raven- What is your question? What are you annotating for?
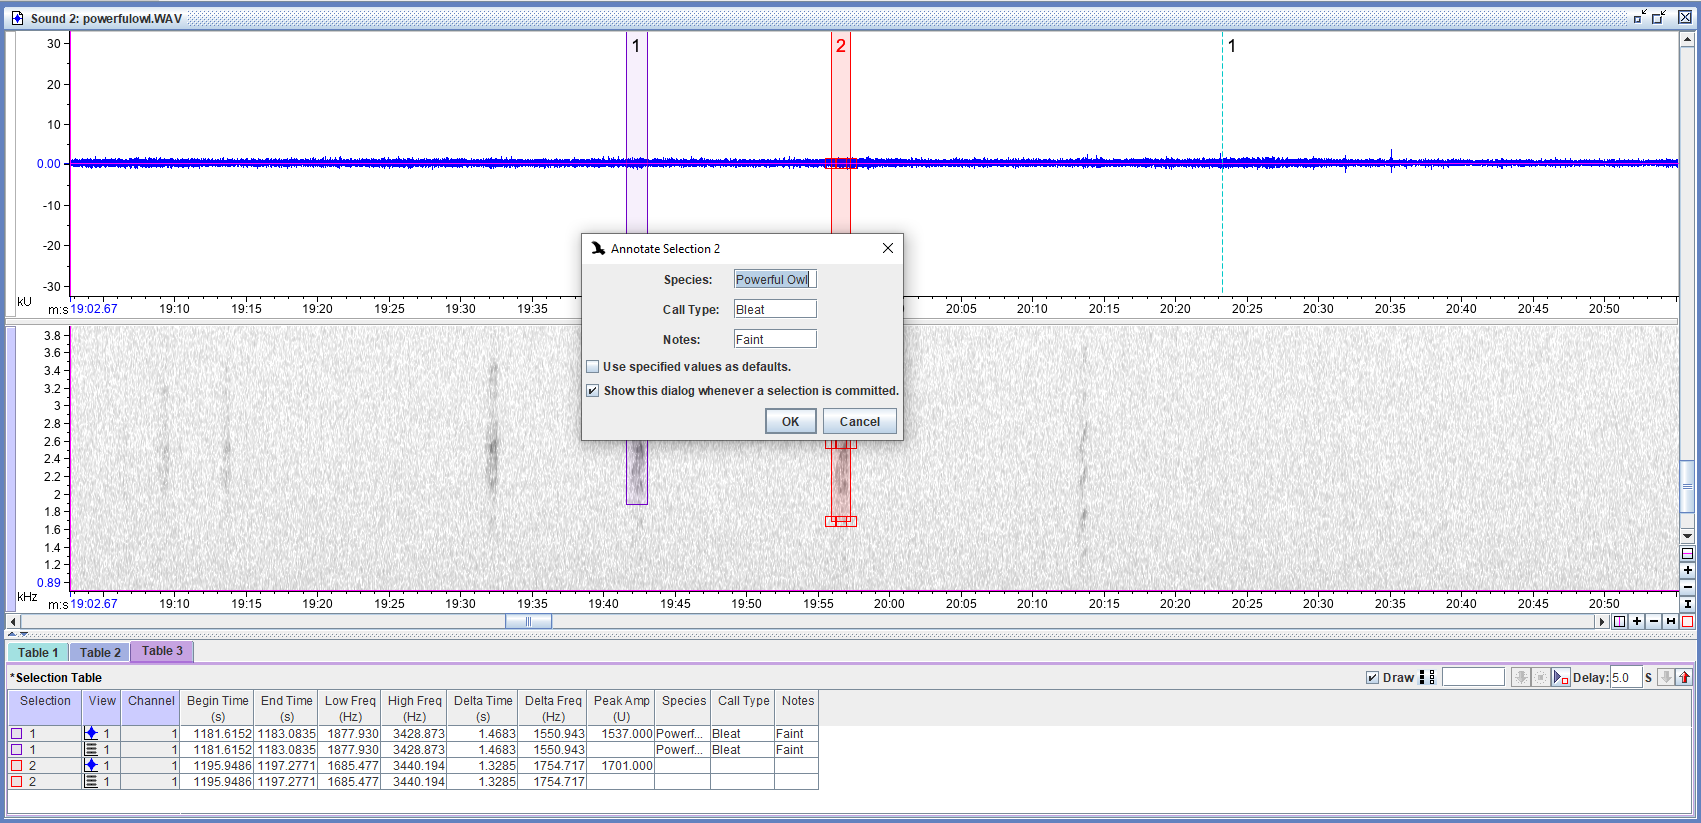
- Tagging multiple species is the same as tagging single species, but there are a few things to consider:
- Overlapping vocalisations
- Noisy/faint vocalisations
- Multiple vocalisations from the same species
- This is where Raven Pro can be useful as you can add multiple columns in your annotation table. It can be useful to tag ‘Noisy’ ‘Overlap’ ‘Faint’ or similar to easily filter out data later. You can bypass this in raven lite by using underscores, eg. ‘PowerfulOwl_Faint’ but this can make data wrangling later a bit more complex.
Combining Annotations and Generating Images #
- Optional - Open R Studio
- New Script - save in same directory as your audio files.
- For the (X, X) after flim = c, replace the X values with your desired spectrogram frequency
- So for example, flim = c(0 , 2 ) will generate spectrograms showing from 0kHz to 2kHz
This script will combine all Raven .txt files in a directory into a single csv file and list the .wav files that they came from. It will also generate .jpg files for all of your annotations.
#install packages

install.packages ("Rraven")
install.packages ("warbleR")
install.packages ("rstudioapi")

# load packages

library (warbleR)
library (Rraven)
library (rstudioapi)

# copy script into folder of csv files and audio files, set wd to source file location

setwd(dirname(getActiveDocumentContext()$path))

# check if it worked

getwd()

# generate Spectrograms and Combine all Raven Annotations into one .csv file

list.files (pattern = "\\.txt$")

data <- imp_raven(sound.file.col = "End.File", all.data = TRUE,
name.from.file = TRUE, ext.case = "upper", warbler.format = TRUE)

str(data)

write.csv(data, "data.csv", row.names = FALSE)

spectrograms(data, wl = 2132, flim  = c( X, X ), it = "jpeg", res = 100,
osci = FALSE, ovlp = 90, mar = 0.1, fast.spec = TRUE)
For more information regarding Raven see the user manual: https://ravensoundsoftware.com/wp-content/uploads/2017/11/Raven14UsersManual.pdf